Dr. V.'s Musings
February 27, 2014
DIY Lighting
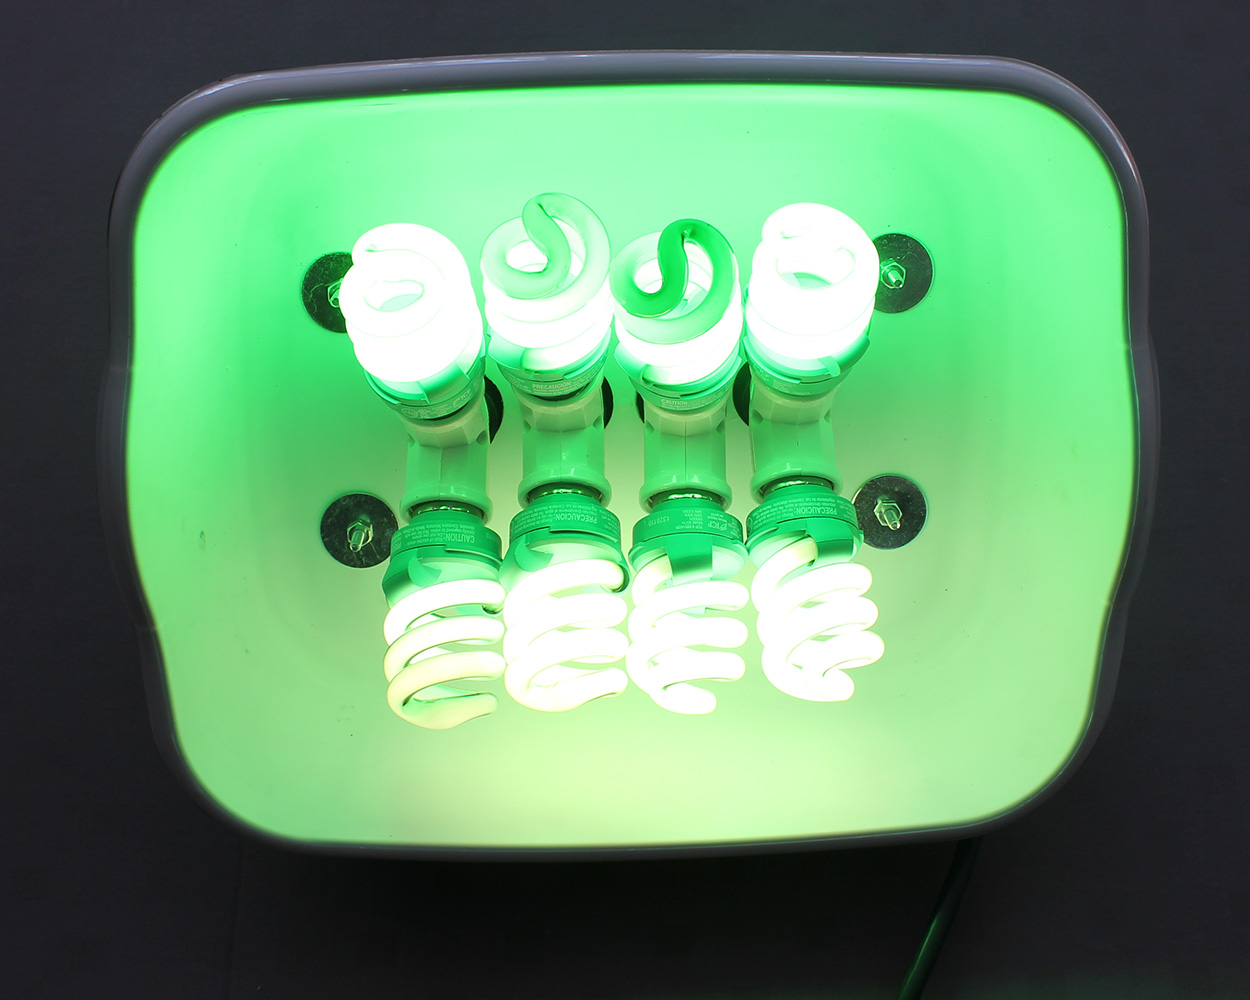
480 Watt Equivalent Photo / Video Green-Screen Lamp
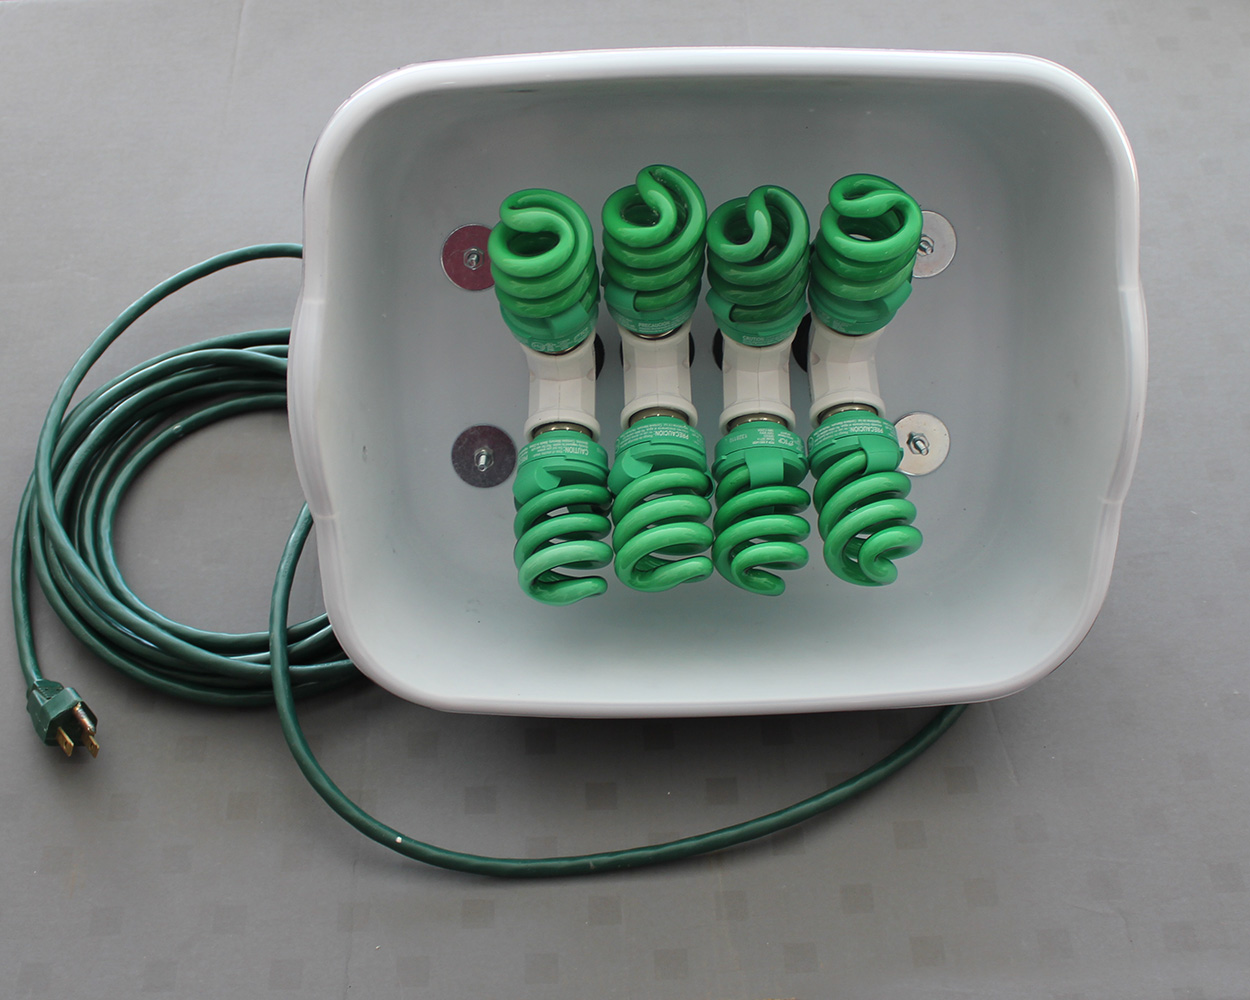
In photography and video one of the places you can easily save a lot of money with Do-It-Yourself making is lighting. This project grew out of my desire to improve the quality of the green-screen work we're doing in the classroom. One of the keys to green screen (pardun the pun) is in lighting the green screen well. So I wanted to build a pair of lights just for the green screen. In order to improve the "greenness" of my budget green screen¹ I opted for green "party" bulbs. You could, of course, use "daylight" or any other compact fluorescent bulbs if you wanted to use this lamp design to light your subject instead of a green screen.
Let's start with the parts list:
| Quantity | Item | Price Each | Subtotal | Vendor | |
|---|---|---|---|---|---|
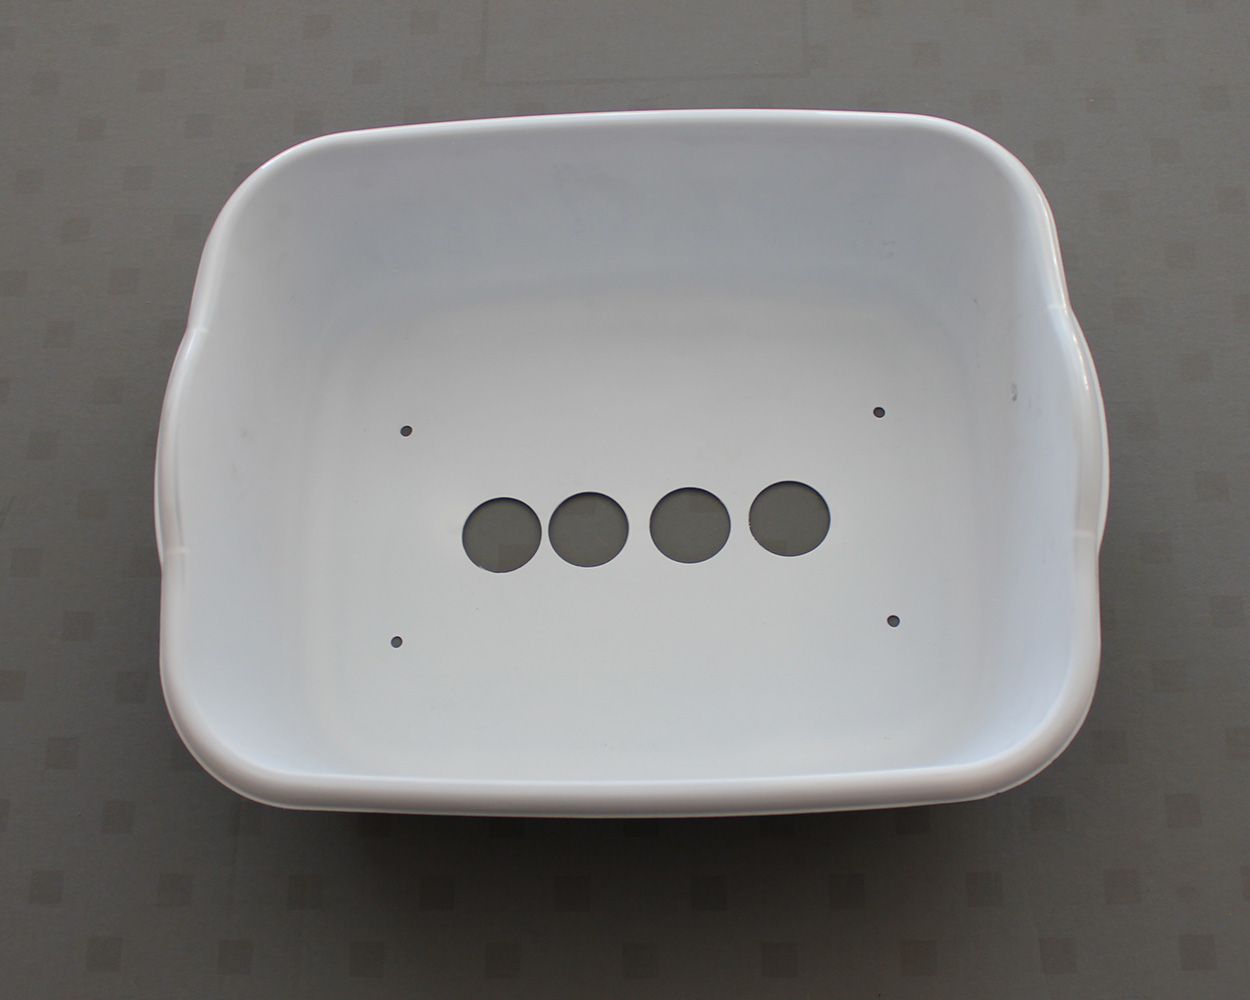
| 1 | 7" Square Cake Pan | $1.00 | $1.00 | Dollar Tree | 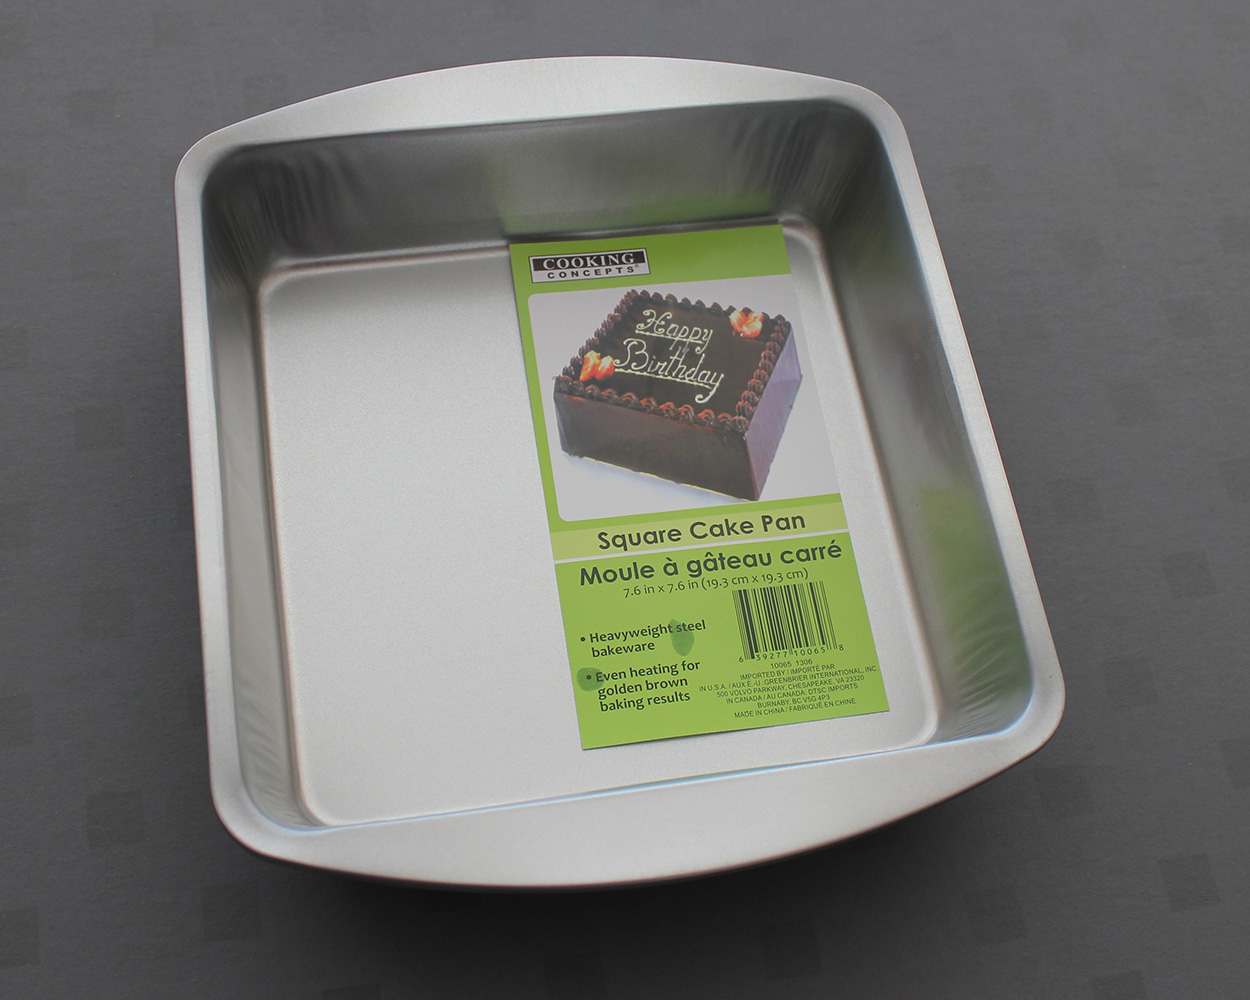 |
| 1 | 8 Quart Dish Pan | $1.00 | $1.00 | Dollar Tree | 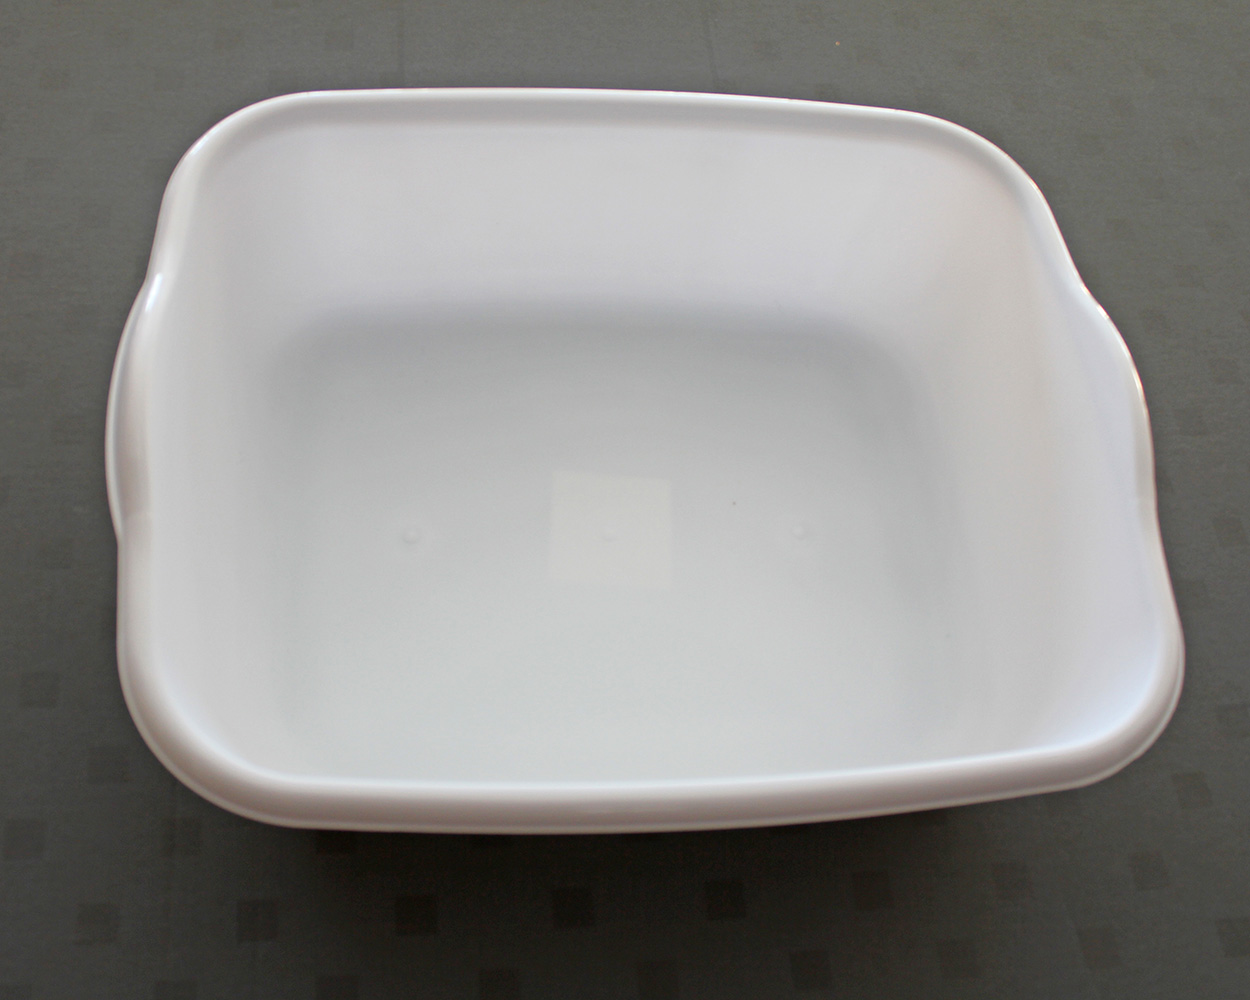 |
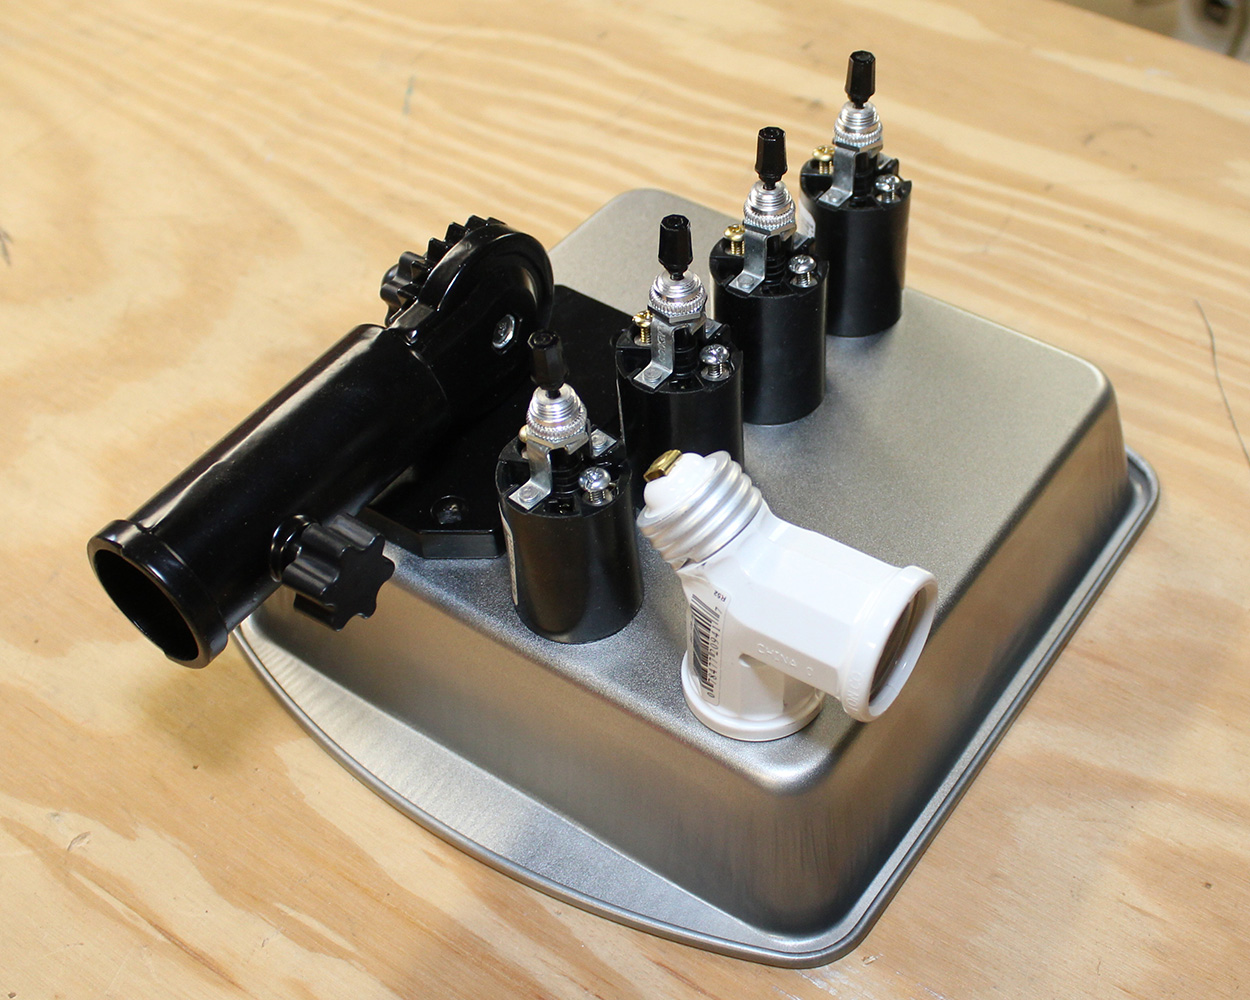
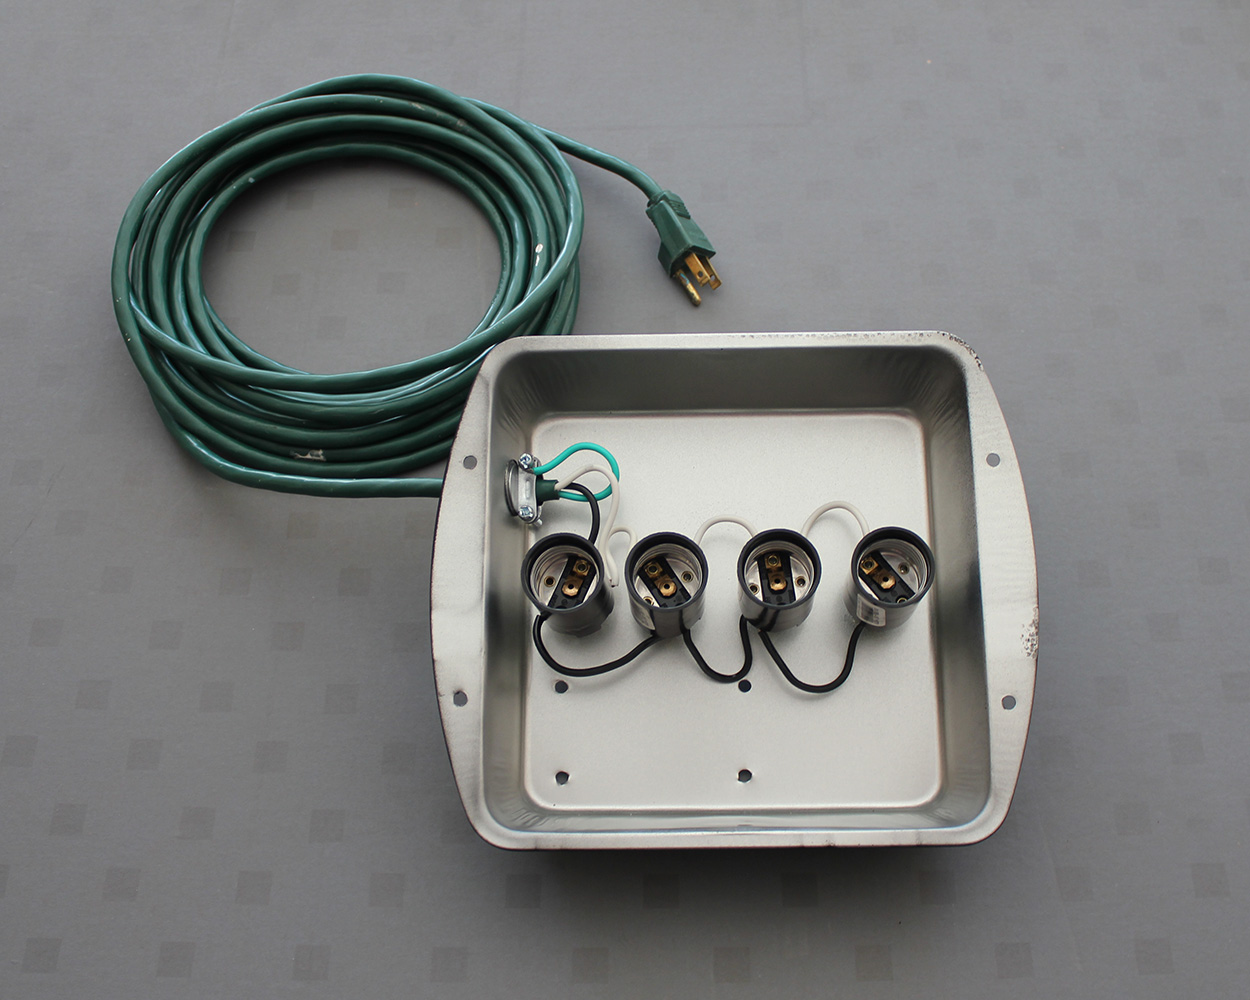
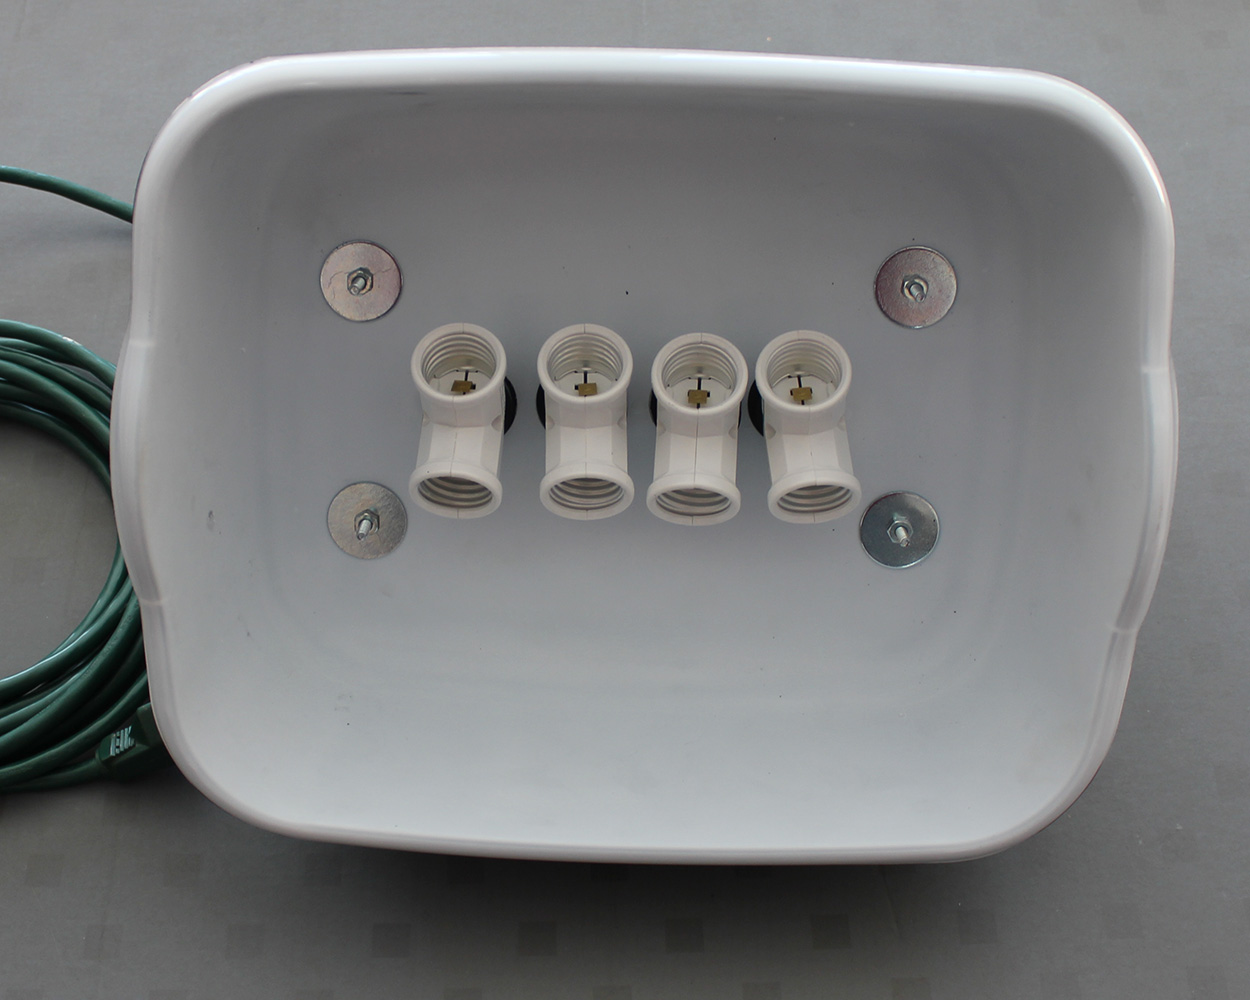
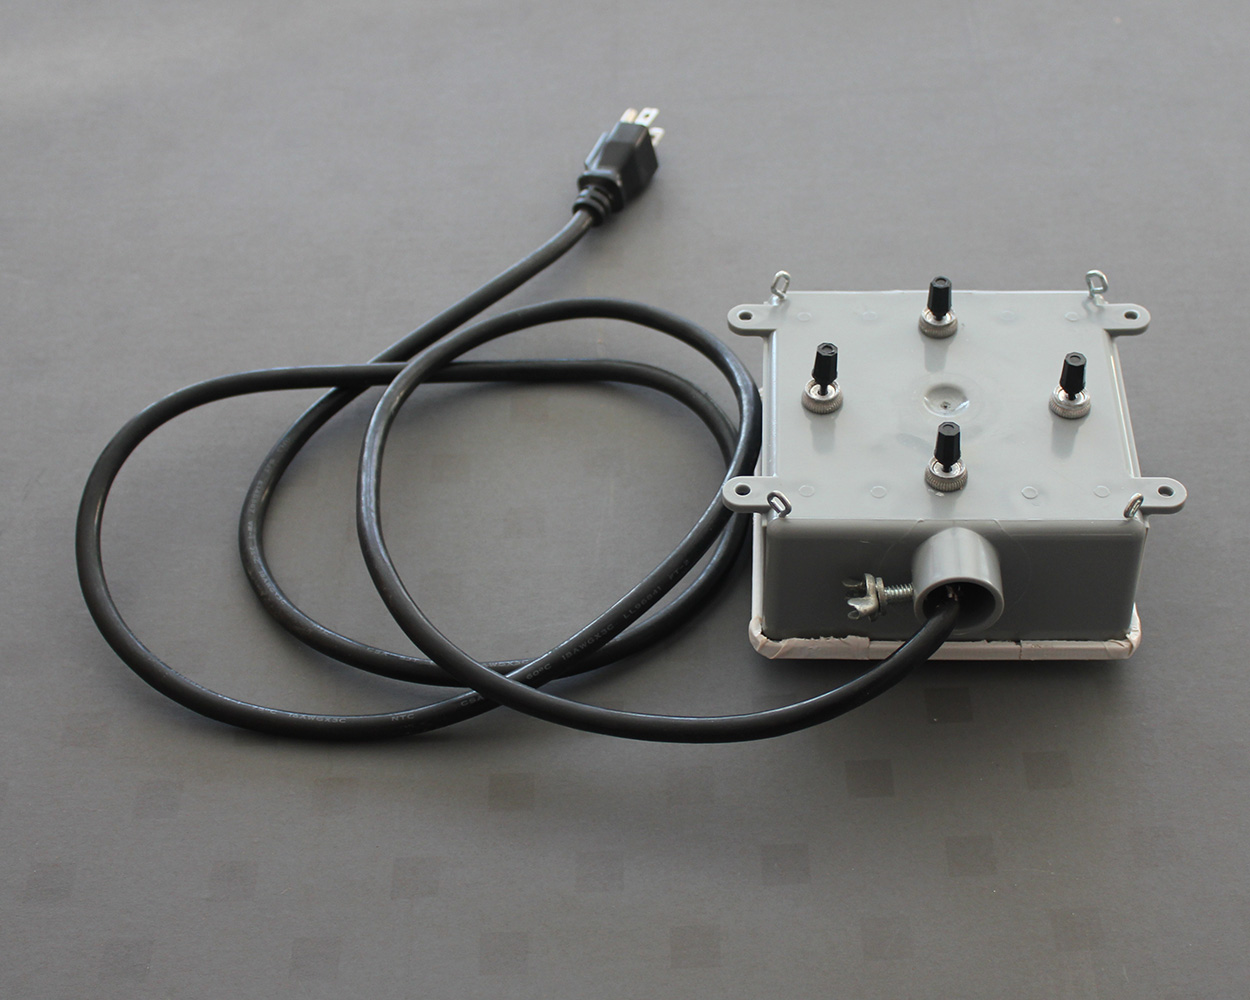
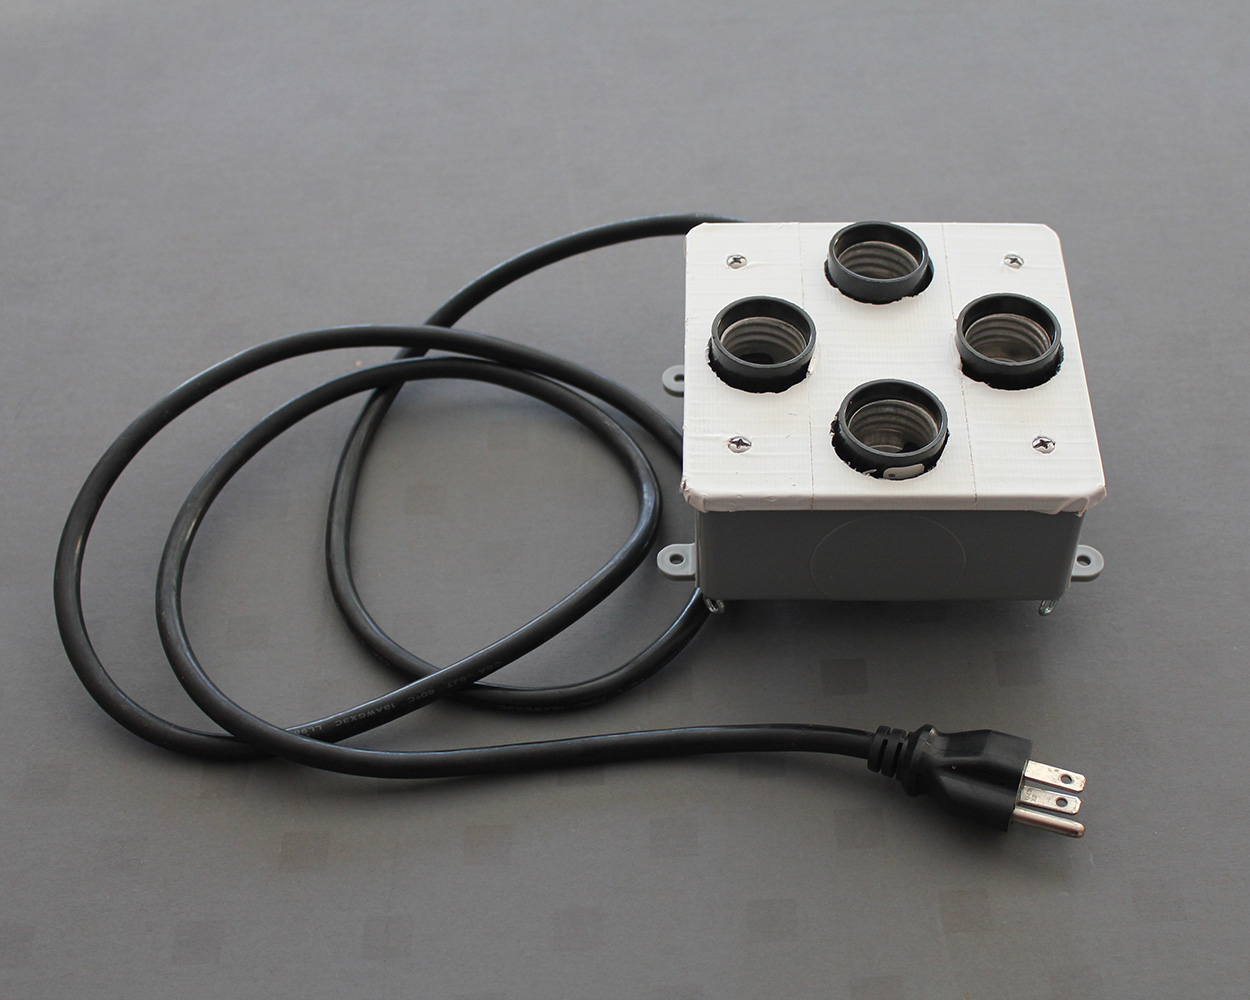
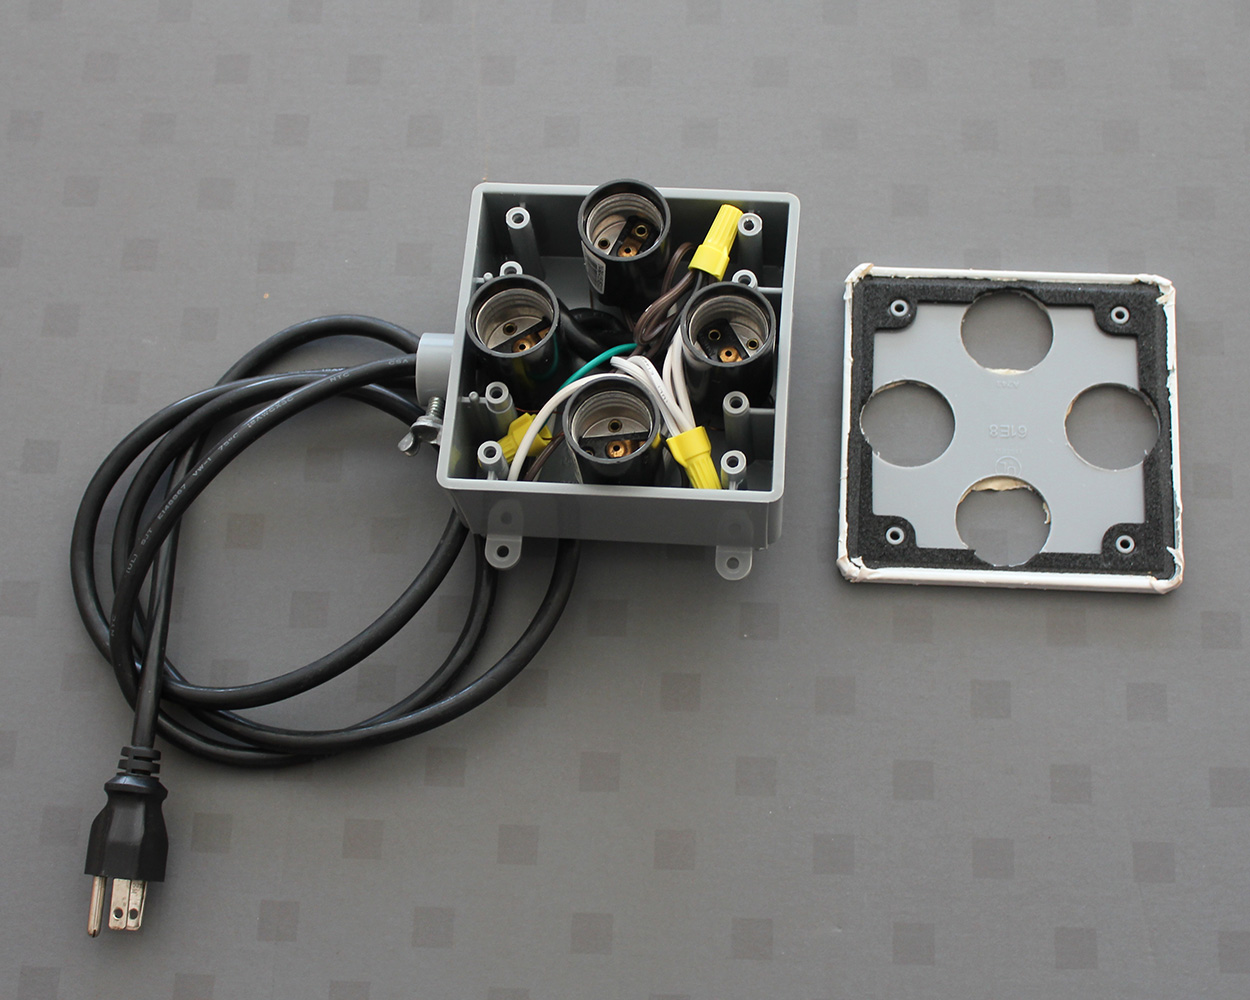
| 4 | Bottom Turn Knob Socket | $3.28 | $13.12 | Home Depot |  |
| 4 | Double Socket Lamp Adapter | $2.48 | $9.92 | Home Depot | 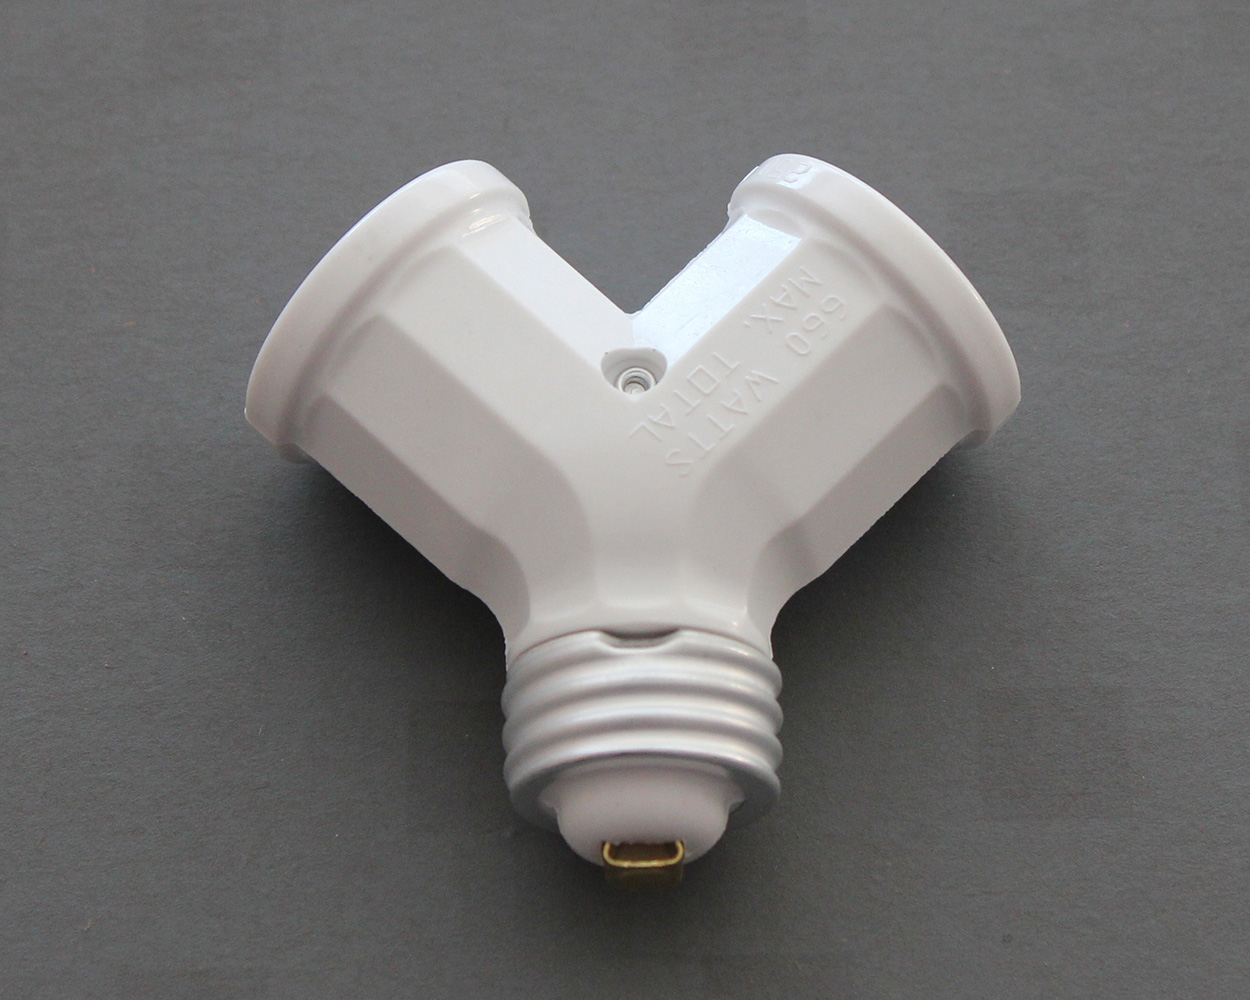 |
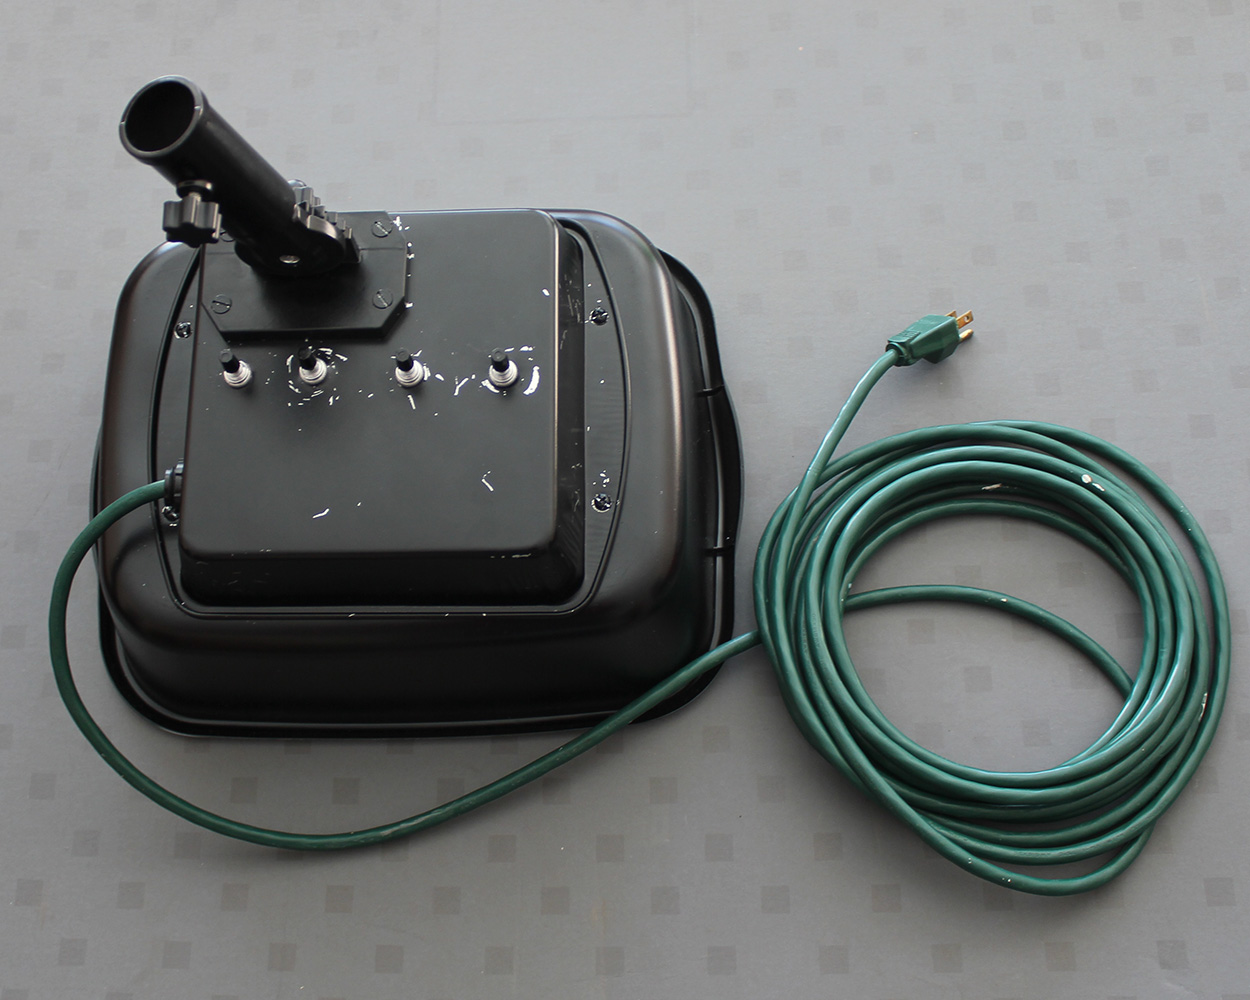
| 1 | Metal Flag Bracket | $10.98 | $10.98 | Lowes | 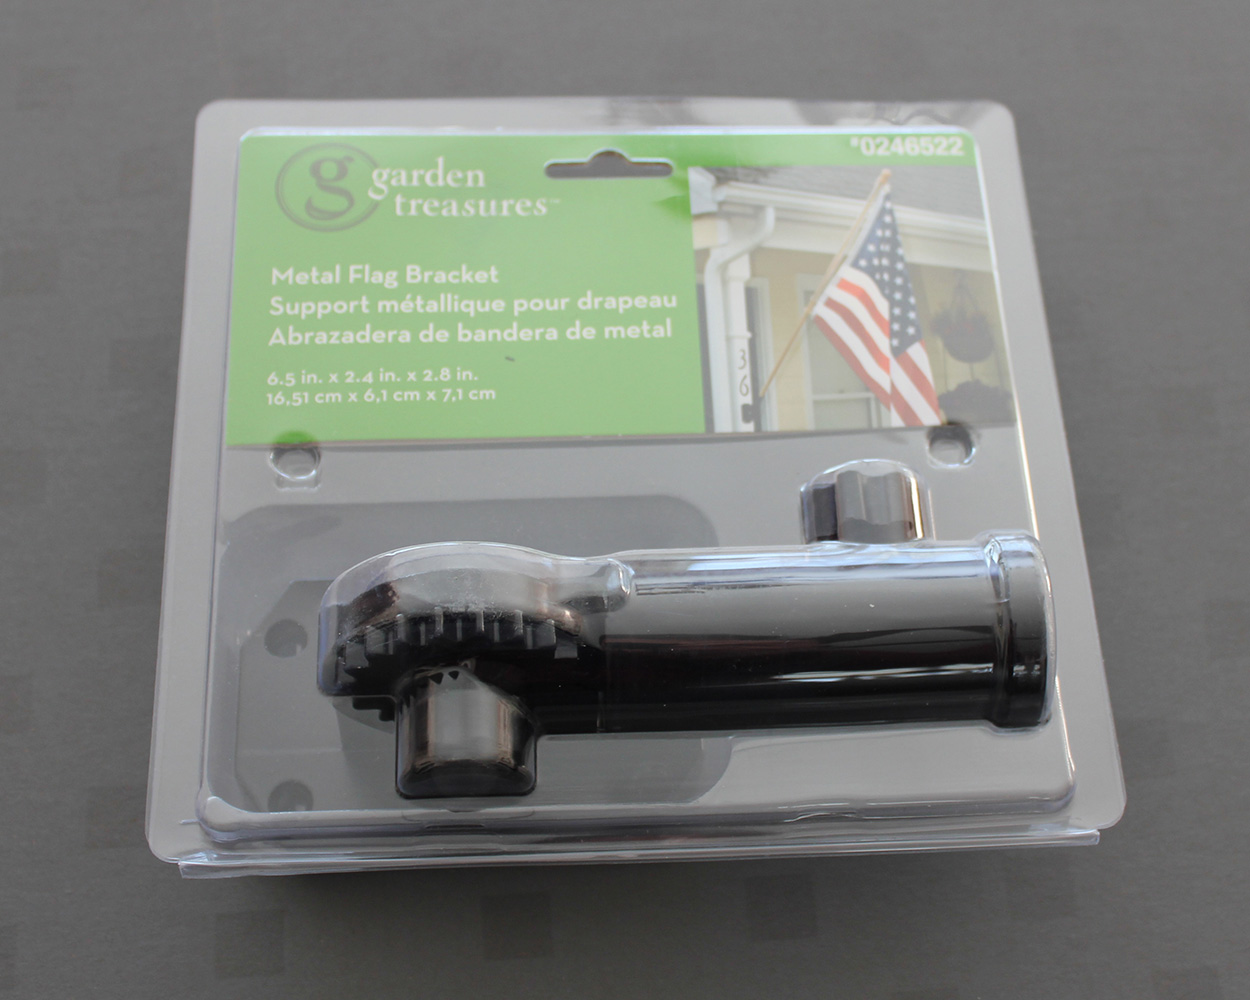 |
| 1 | Black Spray Paint | $4.34 | $4.34 | Walmart |  |
| 8 | Compact Fluorescent Green Party Bulbs | $4.98 | $39.84 | Home Depot | 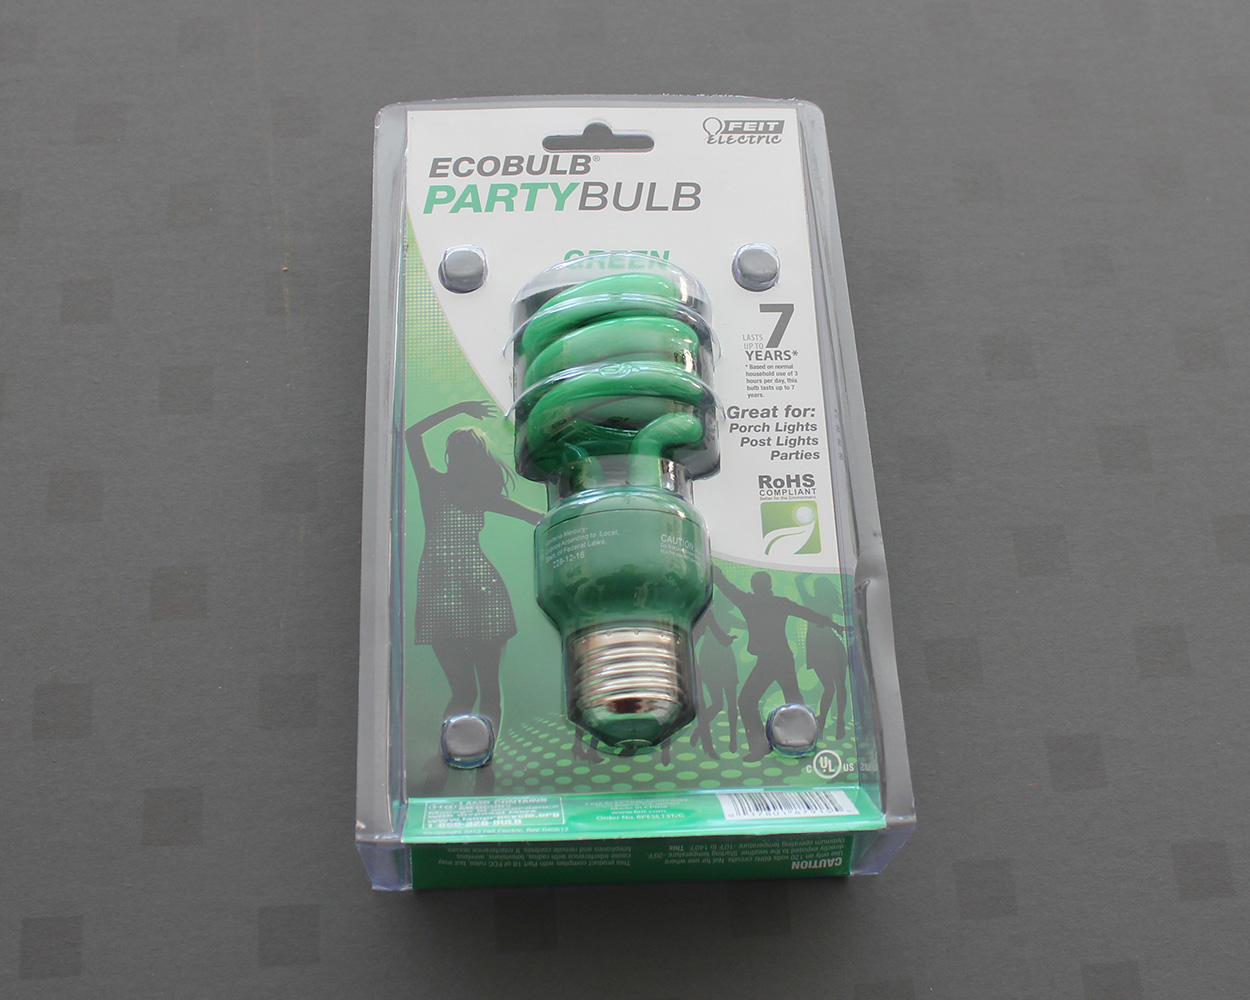 |
| 1 | Umbrella | $3.99 | $3.99 | Ollie�s Bargain Outlet |  |
| Total Cost Per Lamp: | $84.19 | ||||
(Compare with http://www.shopwise2000.com/photo-videoflourescentbanktwolamps.aspx for $369.00)
These are the prices I paid at the stores listed in early 2014 in Rochester, New York. Prices and availability may vary in your area. Note that almost half the total price is the bulbs themselves. I suspect that you could get white bulbs for significantly less. Also, I have noticed over the years that white umbrellas are something of a rarity outside of camera shops (where they are considerably more expensive ;-) so if you ever see any you may wish to pick them up and decide later whether or not you want to build your own lights.
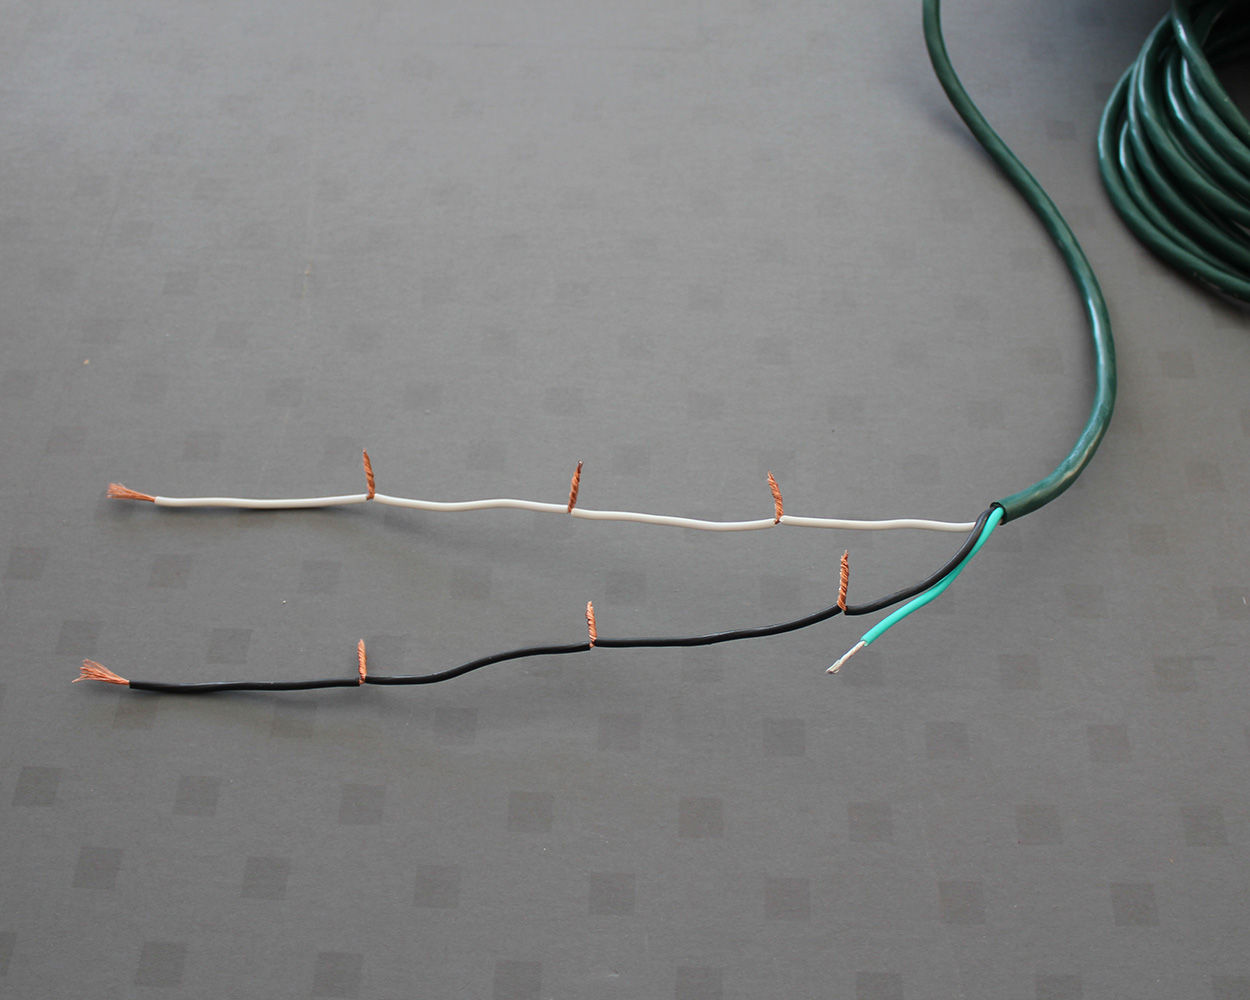
In addition to the above I used miscellaneous nuts, bolts, washers, etc. I also used an old extension cord that had been cut in half by the lawn mower (oops) instead of buying a cord. Feel free to improvise with whatever you have in your workshop!
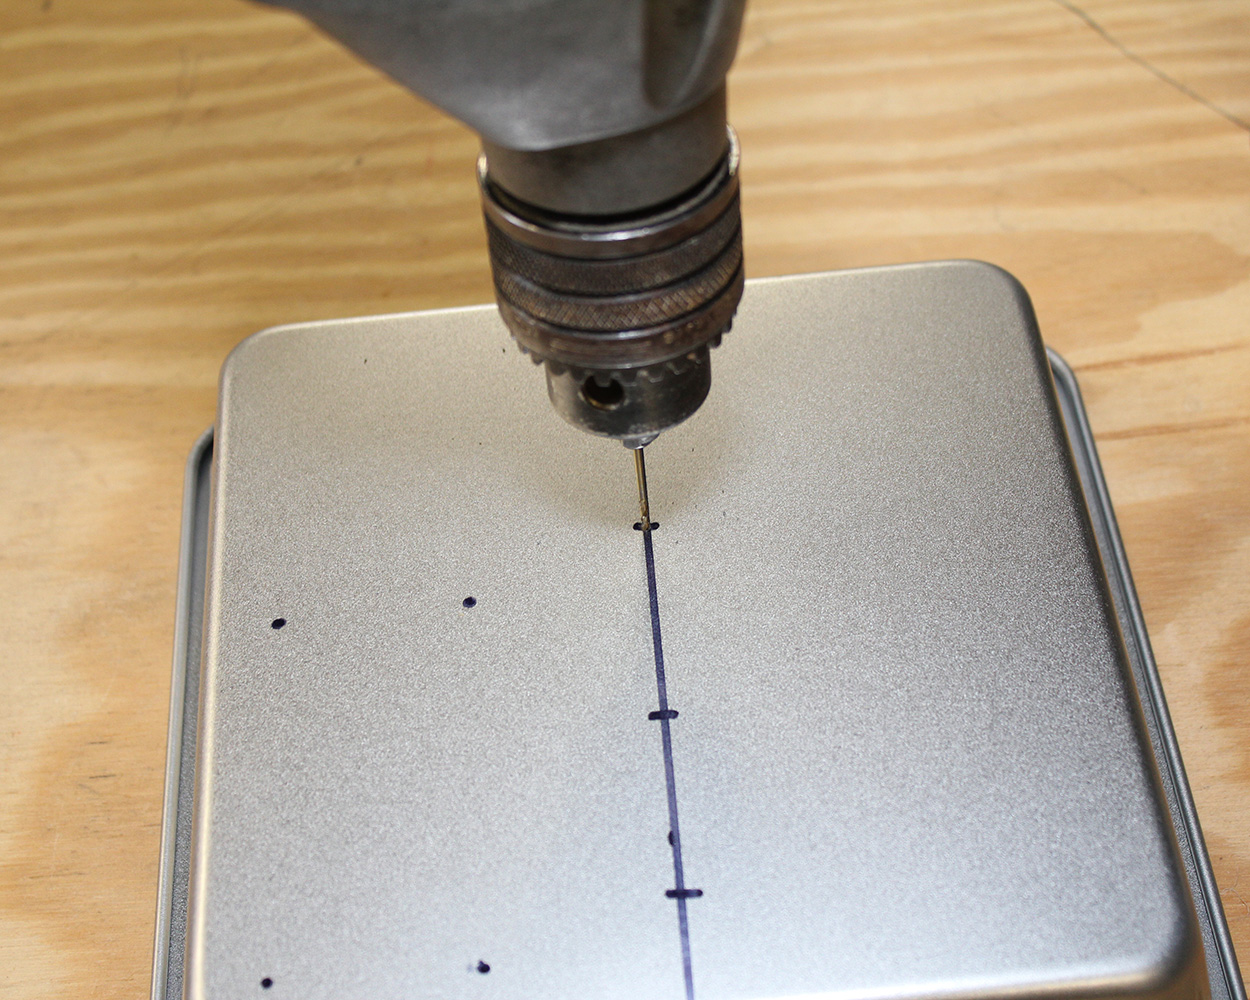
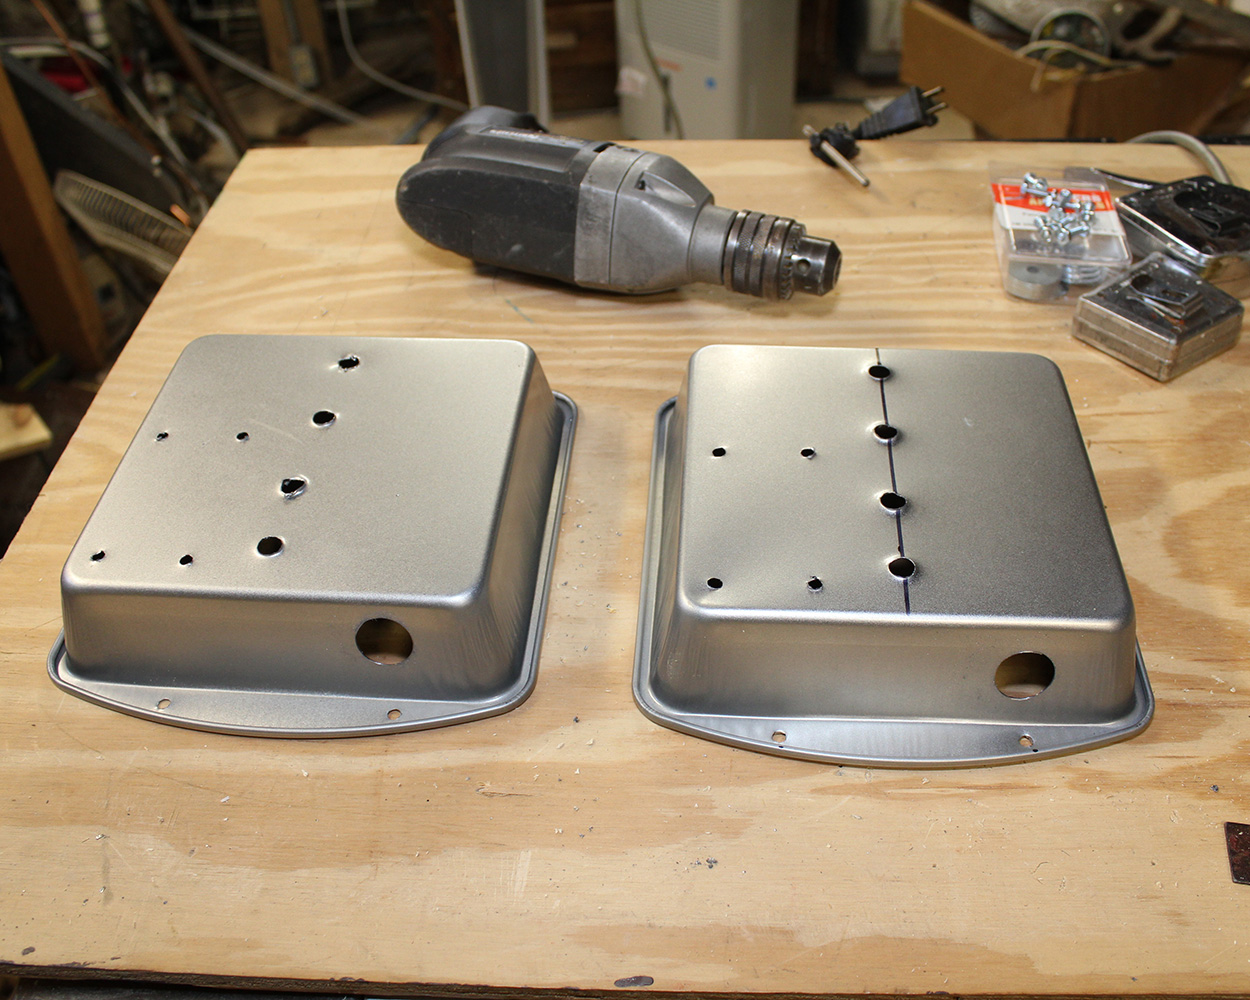
I made two lamps at once to save some time. The paint was more than enough for both lamps so if you build two lamps that cost is half. And I did things like drilled both pans nested together to save having to measure and mark each one separately.
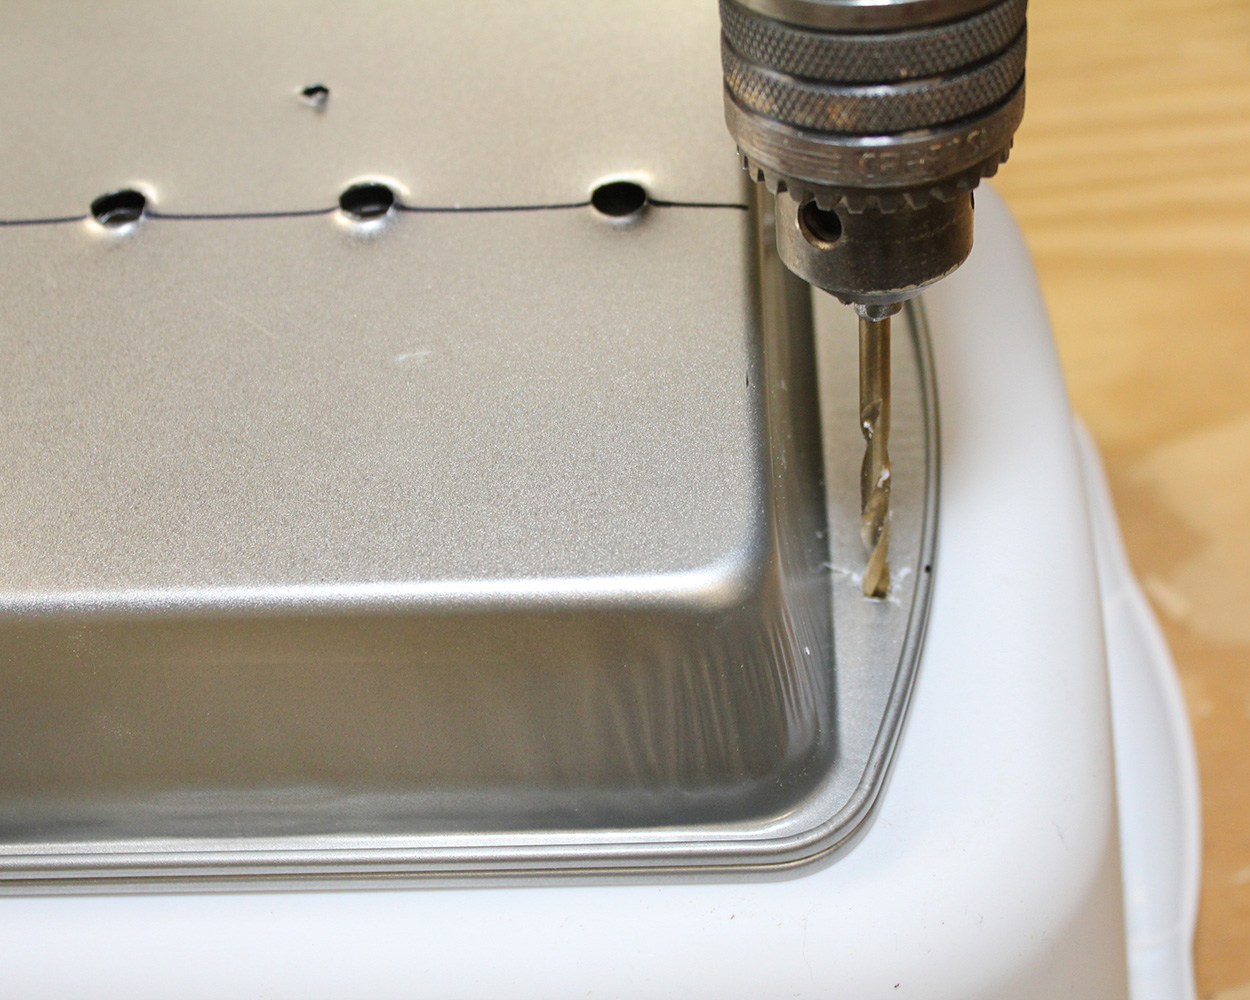
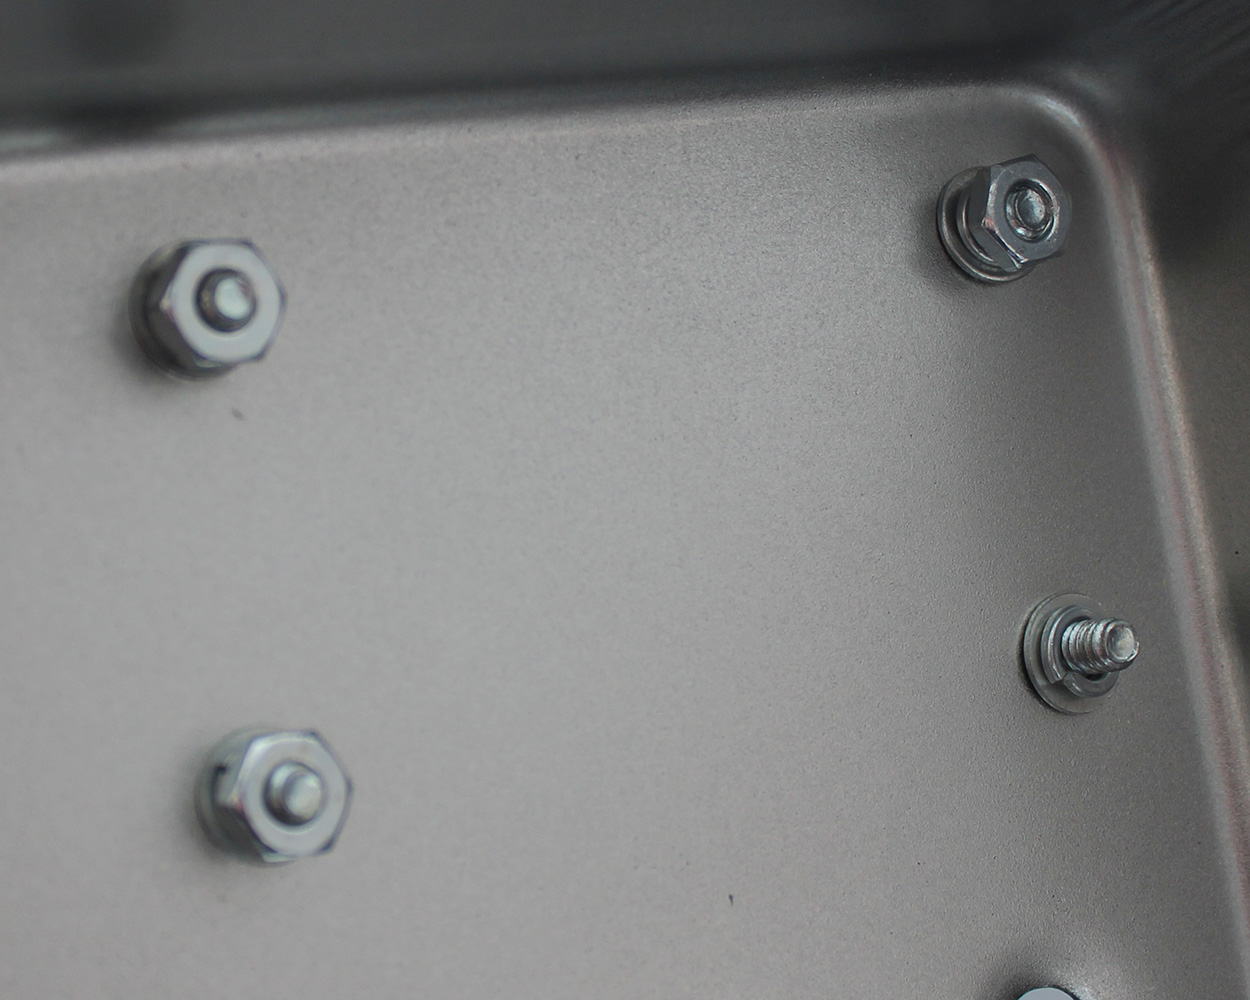
Layout & Drilling

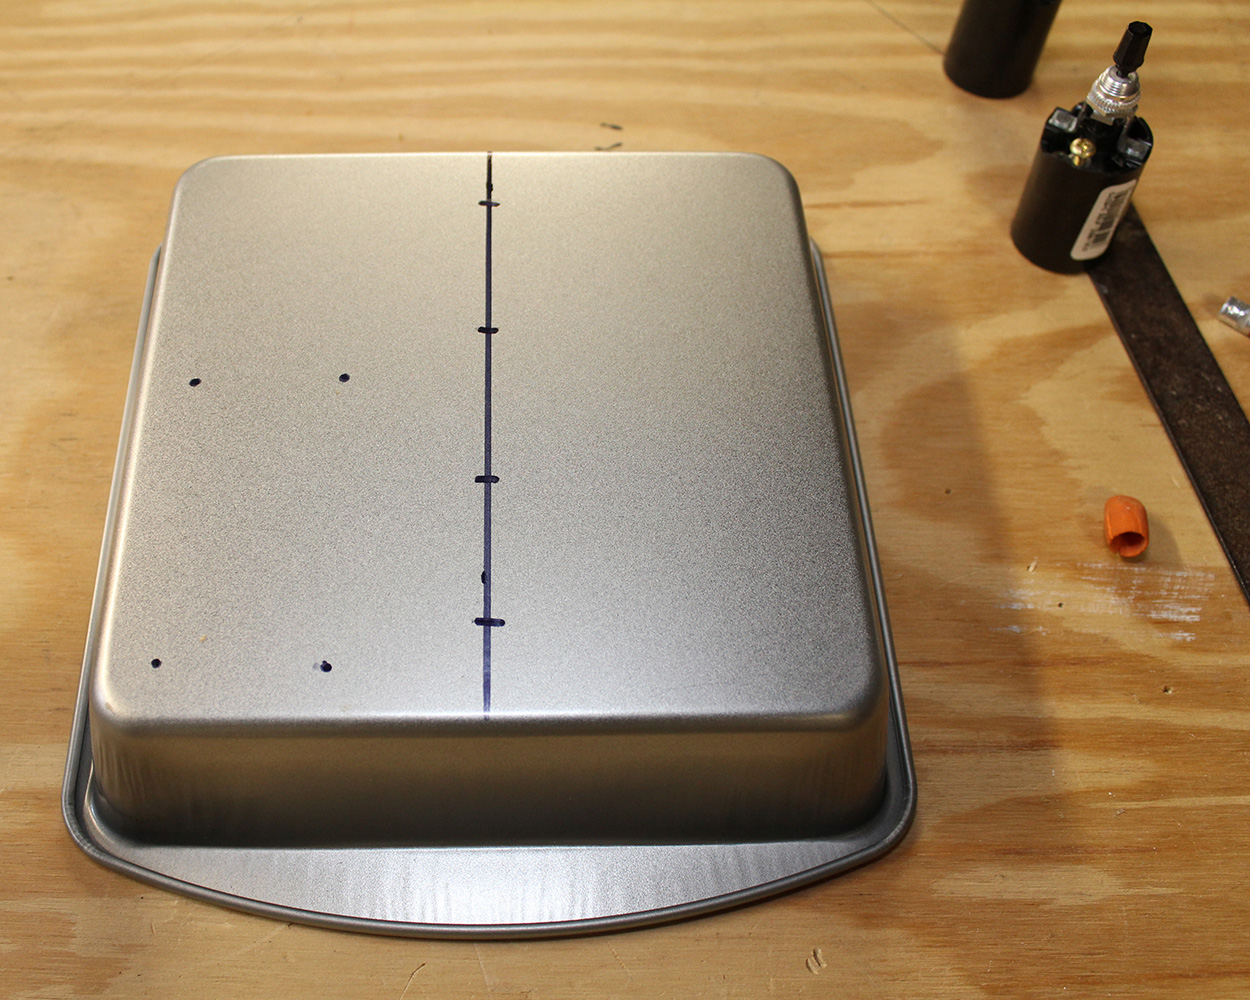
I began by playing with the components, getting a rough idea of where they'll fit, then worked out actual measurements from that. Then I marked out exactly where holes need to be drilled.
Paint

Black spray paint prevents light from spilling through the white plastic of the dish pans. Dollar Tree used to have black dishpans as well as other colors beside white. Had they had black I would have simply bought an extra dispan and nested them. I also considered nesting a third (removable) green dishpan to enhance the greenness for my application, but all that was available was white.

Just an observation, but if you haven't noticed, spray paint has improved a lot over the years. This particular paint job went remarkably easily with a beautiful resulting finish.
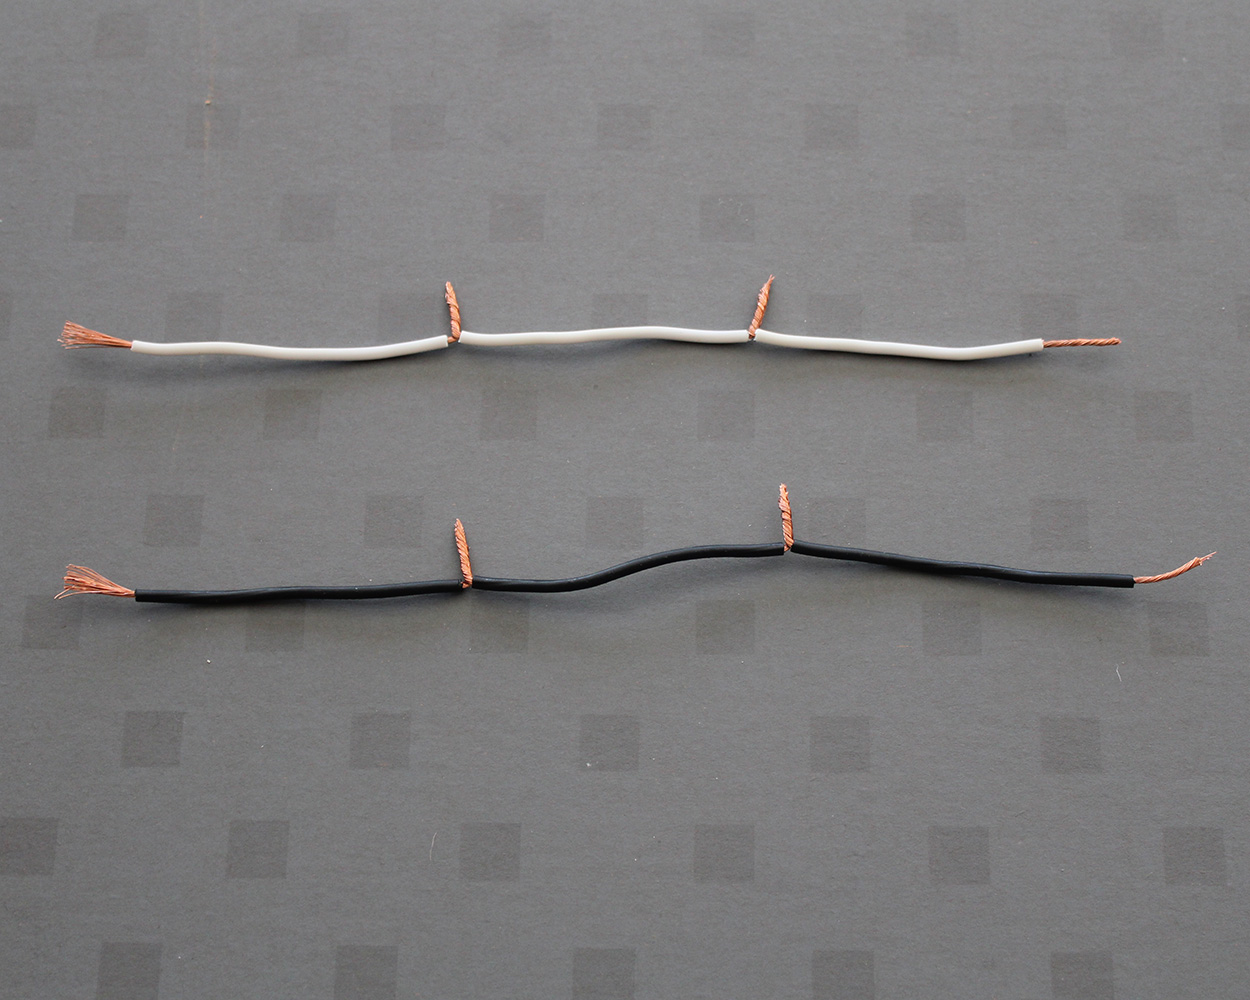
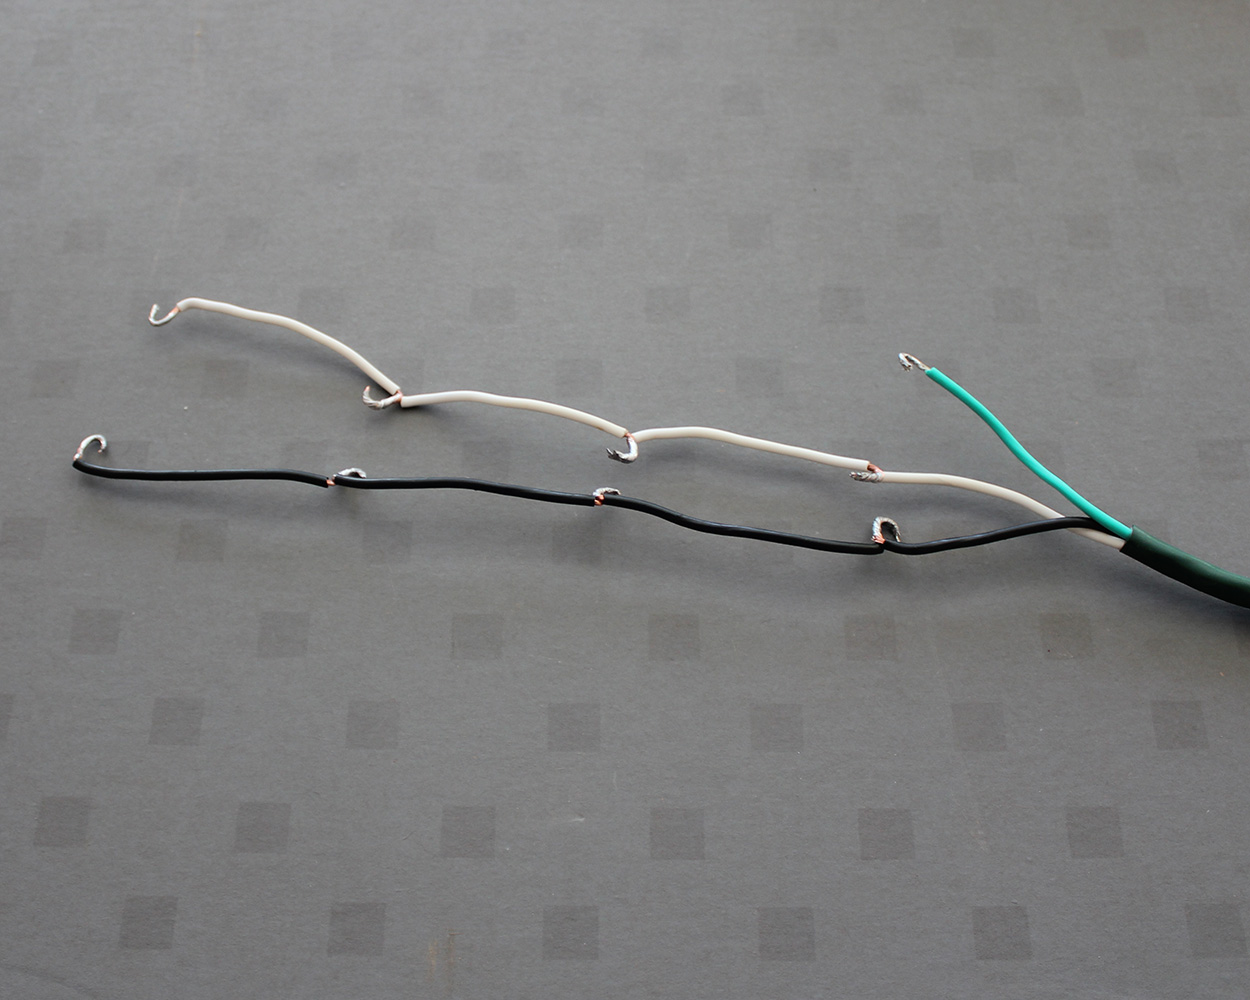
Wiring
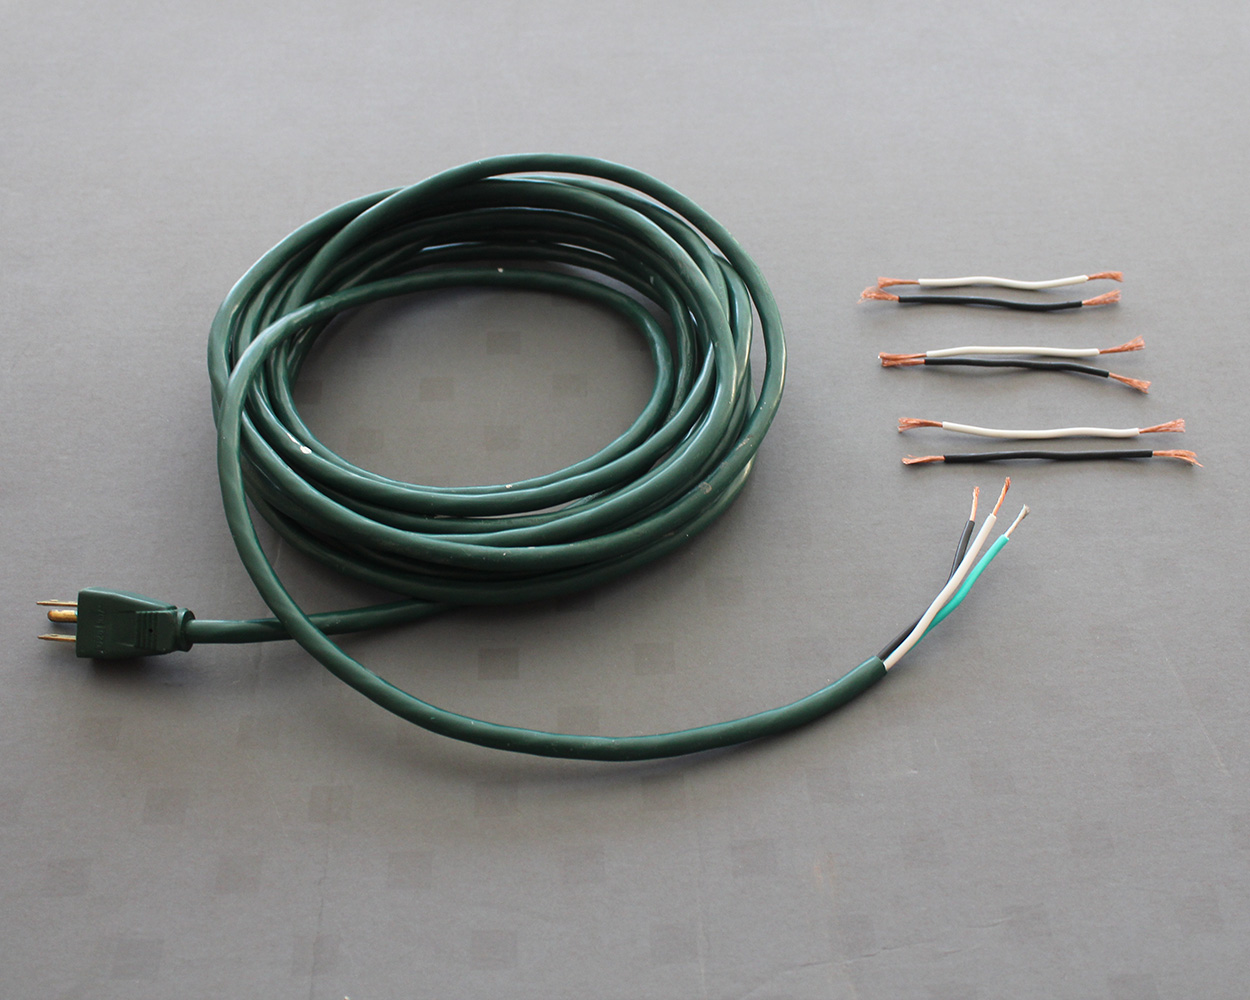
If you've never done any electrical wiring, then you need to know that the black wires are "hot." That is, they are carrying the electrical current from the power source.


Umbrella
I'm still working out the details of how I want to attach the umbrellas and will add that here when it's done. I have a good idea, using some inexpensive parts from Home Depot.
Old Homemade Light I'm Canibalizing for Parts to Make Second Light:
¹An object is green if it reflects light in the green wavelengths and absorbs other wavelengths. Since my green screen fabric is not as pure green as I would like, it is reflecting some other wavelengths — notably yellows. By illuminating it with primarily green light, I am hoping to reduce the amount of other wavelengths reflected and so make the cloth appear greener to the keying software used to make the green screen transparant.